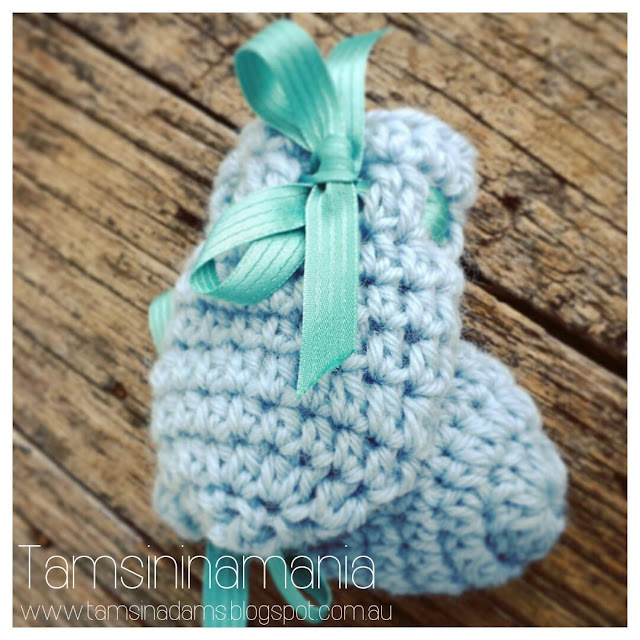
These were fun to make. A little faster than I thought. Crocheted in the round, makes it a quick and tidy pattern with a lace edge to allow ribbon to fit to keep the little suckers on. Lovely and warm for toasty pinkies.
I used my usual 8 ply wool and a 4.5mm crochet hook. You can make it smaller or larger by changing your hook and yarn size.
There were so many patterns out there, that I made this one
up to suit the yarn I did have.
Start with a magic ring.
Round 1: ch 3, make 9 double crochet into ring, slip stitch
to join. (10sts)
Round 2: ch 2 then 1 half double crochet in same stitch as
chain 2, 2 double crochet into each stitch, join with slip stitch. (20sts)
Rounds 3 - 7: ch 2, 1 half double crochet in each stitch,
join with slip stitch. (20sts)
This is the lacey row to accommodate ribbon, if you think your
mitt is not long enough, crochet more rounds as for round 3, until you see fit.
Round 8: ch3, 1 double crochet in each stitch, join with
slip stitch. (20sts)
Round 9: ch 2, 1 half double crochet in each stitch, join
with slip stitch. (20sts)
Sew in ends and thread a your ribbon through every second
set of double crochet. Tie a bow, and if you want to sew in a small elastic
band to keep it secure. Test the fit before securing the ends.
Have fun looking around and if you need anything just holler. Email me here for more enquiries
AND you can check into my online shop for Stampin' Up! goodies.
Cheers Tamsin Adams
Independent Stampin' Up!® Demonstrator and lover of all crafty things...
Cheers Tamsin Adams
Independent Stampin' Up!® Demonstrator and lover of all crafty things...


No comments:
Post a Comment