Thursday, April 24, 2014

THE Leadlight Curved panel CABINET

I hardly say NO to anything people have asked me to fix...For future projects, this will definitely change.

Here are some pictures of the beautiful smashed leadlight curved panel cabinet. I have searched a gazillion times on the internet looking for some tutorials, answers on how to fix this...BUT none that would suit this little cabinet...(not so little when I started...)

I have seen that you can replace glass insitu but this would not be the case. Pieces falling out everywhere...
SO here is my progress through photos to show you...


How it came, smashed, bent and out of shape, this side looked ok. ( I might add here that I have had looked after this cabinet for a number of years before I thought I could tackle it, lol until the owner asked for it back..ok... onwards..).
The other side was falling out and some of the pieces smashed to the floor, when trying to get it out, I didn't take a "before it was removed" photo. The door was great...
On the table, reconstructing the pattern for both sides, so that I could trace any full pieces for both of the sides.
AND here are all of the pieces for one side. I traced and cut new bits for the second panel. The glass was a very thin 2mm. I found a few old photo frames that I removed the glass from to use. Keeping the same size glass was useful, so when it came to bend the panel (I wasn't sure "how to" at this stage), to ensure that the glass would not break if it was thicker...
(so I was dreaming..)
Brand new lead. I matched the size as close as I could and it was still a little larger. Once placed together was as easy as making new windows.
The front door panel finished and ready to solder.
soldered and now to wash and then the next stage is to putty and polish.
Nice and clean how beautiful.
Runny putty in the sun. Warming nicely, not what I wanted to see... 
and again. too warm for the putty.
Using whiting and cleaning the glass by hand with a natural bristle brush.
Painting the solder joins with stove black and then onto polishing them.
Ye olde floor bristle brush polisher, does a very good job.  Just be careful, you don't catch the towel into the polisher and throw your work onto the floor. A concrete floor does not catch things very well...As I hang on tightly...

Completed the door panel, the easy one, FLAT...yay and placed into the frame. AND it fits nicely...woohooo.
UPCLOSE all shiney and brand new, the ready to curve panel.
NOW how are we going to bend it??? getting worried. It really will fit in there...hmmm...
NOW to BEND IT...Here goes...
Bending it soon after putty and in the sunshine to warm the lead so that it's softer to bend...
A very nerve wracking situation for my hubby and I. Two people are better than one.
Slowly does it and per panel too.
Ohh wow it actually worked...two people...
Inside ready to fit. Sigh a big relief.
SOOO I thought that wasn't tooo bad, so I tried on my own inside the shed on a cooler day....arghhhhh....
DO NOT BEND it cold...bugger it big time...this made me cry...but its only glass right...lets fix it now...
This took me two weeks to come back too...(and awaiting hubby to help) now the nerves are growing again...
FIRST IS FIRST . Lets fit it into the cabinet and we decided with help from a beautiful friend. We'll fix that bit in a bit...
A few adjustments to the cabinet to fit the glass leaded panels, (due to the extra size in the lead)...measure twice, three times...
SO onto repair number 1, Smash that glass out of there, carefully does it, keeping the panel curved was not an easy task.
Nearly done
Turn it over so as to not damage the front of the lead.. We (my mentor did it for me in the end, at this stage I was ready to give up a little) cut back the lip of the lead and slide a new piece of glass into it. Cut a new lip off other lead and solder back into place...DONE...SIGH A BIG ONE. AND thankyou to my amazing helpful hands of my mentor...oh and if it needs a bit of putty, as it did, do all of the above again...easy right...
DONE AND DUSTED...so to speak, so glad to see it in place...yay.
DOOR ON. AND IT FITS still
Happy chappy, Happy hubby (that it is leaving his shed, Thanks Dave) and a really happy customer, (because I had it for way too long, ooops)...
Just one more pic of finished leaded panels.
DONE FOR and never to be attempted again, (not so soon anyways, who hardly says NO).

YOU "CAN" DO IT....

Thanks for looking, leave a comment if you wish. Or email me here for any orders and queries, or check into my online shop, under tab headings above for Stampin' Up! products.
Cheers Tamsin Adams
Independent Stampin' Up!® Demonstrator and lover of all crafty things...

Thursday, April 17, 2014

AW15 Challenge Colours

Around the World Colors Challenge AW14:


Another Play inside the MDS...loving that I have 5 mintues spare, (turned into 20 minutes, coffee, phone calls, lol, you know) to turn a challenge into something that I might actually print and bluetack to my wall...Until I find a lovely frame...

Here it is for my babe:


Thanks for looking, leave a comment if you wish. Or email me here for any orders and queries, or check into my online shop, under tab headings above for Stampin' Up! products.
Cheers Tamsin Adams
Independent Stampin' Up!® Demonstrator and lover of all crafty things...

Saturday, April 5, 2014

AW14 challenge MDS again.

Around the World Colors Challenge AW14:


Click Here to have your turn at the challenge.
Here’s what I have played with for the April Around the World Colour Challenge AW14.
Again I love the simple poster for my wall  and I have made this in MDS...I'll get a copy printed at my local printer...love it...I saw something similar on Pinterest and loved the idea. have fun...


Thanks for looking, leave a comment if you wish. Or email me here for any orders and queries, or check into my online shop, under tab headings above for Stampin' Up! products.

Cheers Tamsin Adams
Independent Stampin' Up!® Demonstrator and lover of all crafty things...

Saturday, March 22, 2014

The never ending card.

I have always loved this oldie, but a goodie...There are plenty of tutorials out there...just google Never ending card.

Here are a few pictures of two I have made recently, using some retired DSP's...
And where I ran out of the right pattern I stamped my own...USE IT ALL UP, I say, so I can buy more...lol...

These ones are 6" by 6", making the square in the middles 3" by 3"...which is pretty small to play with... AND I made the envelopes out of the same DSP to match the card, have fun looking.

FRONT

Inside first turn, space for your sentiment

Decorative third fold

AND the back, with a little final HB with flowers.

FRONT, for the mummy's

Inside first fold, the space to write...

The second fold around with a couple of hearts, maybe I need to add BLING!

AND the BACK, my favourite part a little sneaky message. love it.
CARD RECIPE:
  • 1 of 6 x 12 plain cardstock for base, cut into halves twice and scored at 1.5" on two opposite sides.
  • 1 of 12 x 12 DSP for envelope cut to 9.5" x 9.5"
  • the scraps left from envelope, cut into strips to match cards spaces.
  • and half an A4 whisper white card for stampin images and decorations...or there abouts...

Having fun inside on a sunny day, oops sorry garden...

Thanks for looking, leave a comment if you have time. Or email me here for any orders and queries, or check into my online shop, for Stampin' Up! products.

Cheers Tamsin Adams
Independent Stampin' Up!® Demonstrator and lover of all crafty things...

Monday, March 17, 2014

Blessed Easter

Easter cards do you send them? To family and your friends?

Here are a few that I have made.

There are lots of techniques you could play with.

The Blessed Easter stamp is so lovely. Available in my shop until the end of June. It comes as a wood mount only but if you have got the gear you can make it clear mount.


Having fun inside on a rainy day...

Thanks for looking, leave a comment if you have time. Or email me here for any orders and queries, or check into my online shop, for Stampin' Up! products.

Cheers Tamsin Adams
Independent Stampin' Up!® Demonstrator and lover of all crafty things...

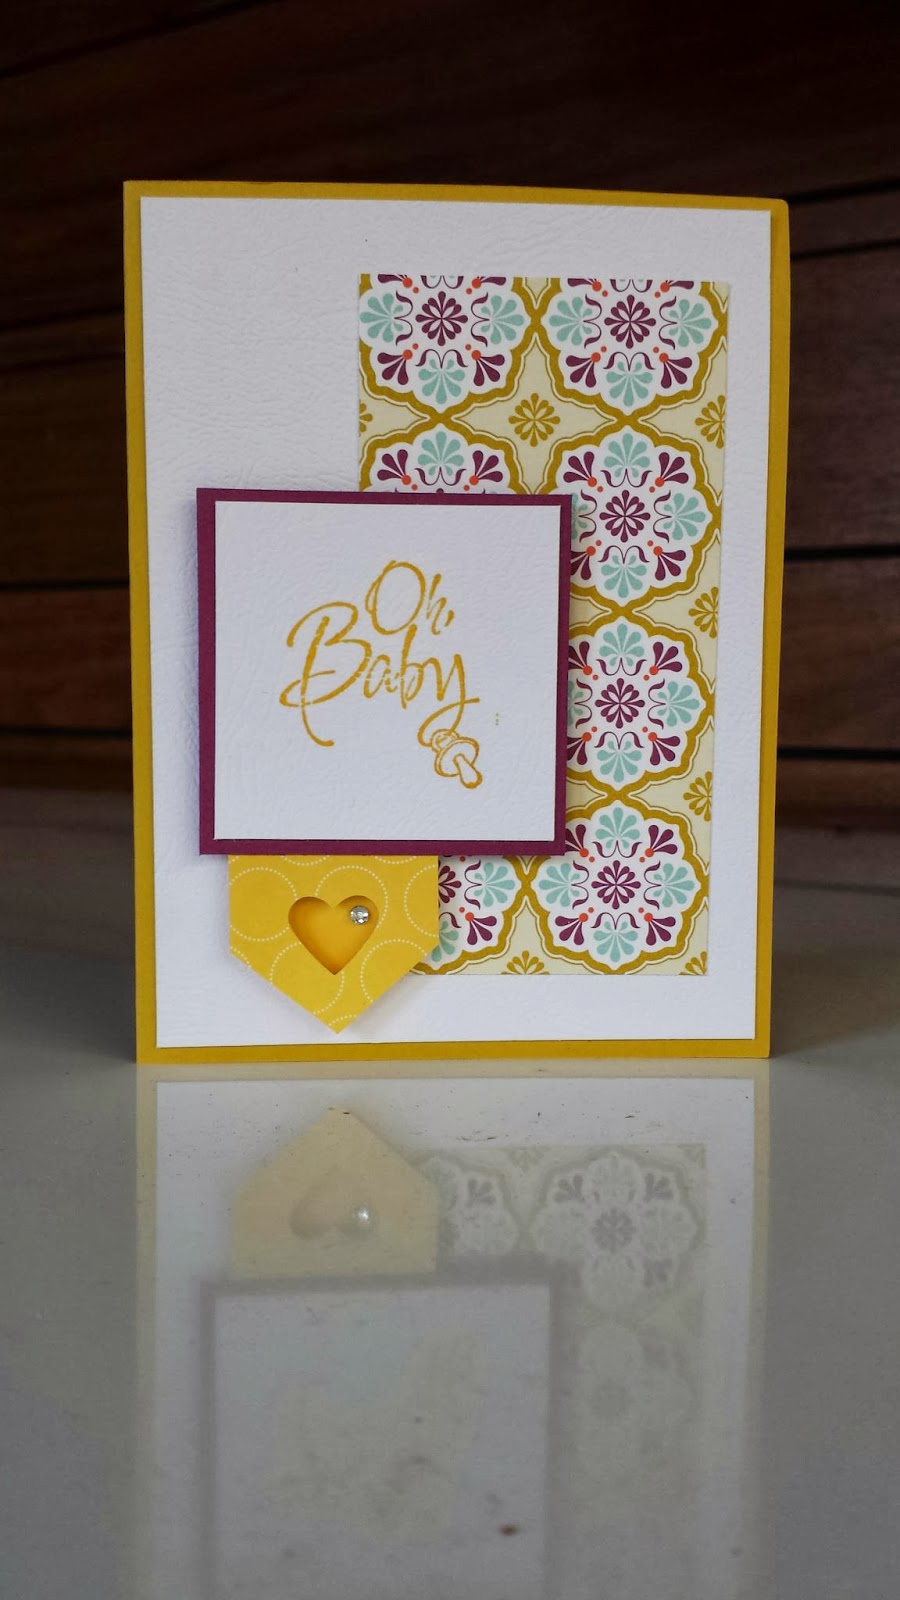
More baby cards...

I love the way this technique has turned out, in different shapes and randomly matching colours. I think they worked.

By adding a small embellishment to the side adding that little extra dimension...


Using the same random technique I chose colours out of my scrap box and added same colour ink as the card base. I think they worked out lovely too.


and a couple more using the same Baby We've Grown stamp set...


sorry it's a bit blurry, but you get the ideas...

I have had fun, have you???

Thanks for looking, leave a comment if you have time. Or email me here for any orders and queries, or check into my online shop, for Stampin' Up! products.

Cheers Tamsin Adams
Independent Stampin' Up!® Demonstrator and lover of all crafty things...

Around the World Sketch Challenge


Here’s what I have played with for the March Around the World Sketch Challenge.
Click Here to have your turn at the challenge.


My upline Alisa Tisner inspired me with her challenge...woohoo...Here is mine and I have made this in MDS...love it, so quick and easy.


I am not sure if there is anything "retired" in my sketch...
But I have had fun.

Thanks for looking, leave a comment if you wish. Or email me here for any orders and queries, or check into my online shop, under tab headings above for Stampin' Up! products.

Cheers Tamsin Adams
Independent Stampin' Up!® Demonstrator and lover of all crafty things...

Saturday, February 22, 2014

Baby cards galore.

I have had lots of fun making beautiful baby cards.  Here are the pics.


Have fun.

Thanks for looking, leave a comment if you wish. Or email me here for any orders and queries, or check into my shop, under tab headings above for Stampin' Up! products.

Cheers Tamsin Adams
Independent Stampin' Up!® Demonstrator and lover of all crafty things...

Monday, February 10, 2014

MORE SAB 2014 Card Pics

 Just showing some photos of cards I have made recently...using the See Ya Later SAB freebie stamp set. Spend $90 and get it free, available until 31st March 2014.

CARD ONE:


CARD TWO:

 CARD THREE: the box card...sooo easy and fabulous ideas out there...
Using up scraps again on this last one...


Have fun.

Thanks for looking, leave a comment if you wish. Or email me here for any orders and queries, or check into my shop, under tab headings above for Stampin' Up! products.

Cheers Tamsin Adams
Independent Stampin' Up!® Demonstrator and lover of all crafty things...